Rocking Bow Pose
Rocking Bow adds gentle motion to the bow, massaging the abdomen and rhythmically deepening the front-body stretch as you rock on the belly. The rocking is driven by breath and the feet pressing into the hands, not by force. It is a lively way to open the quads, hip flexors, and chest once the spine is warm.
- Equipment
- Body Weight
- Type
- Stretching, Yoga
- Browse by muscle
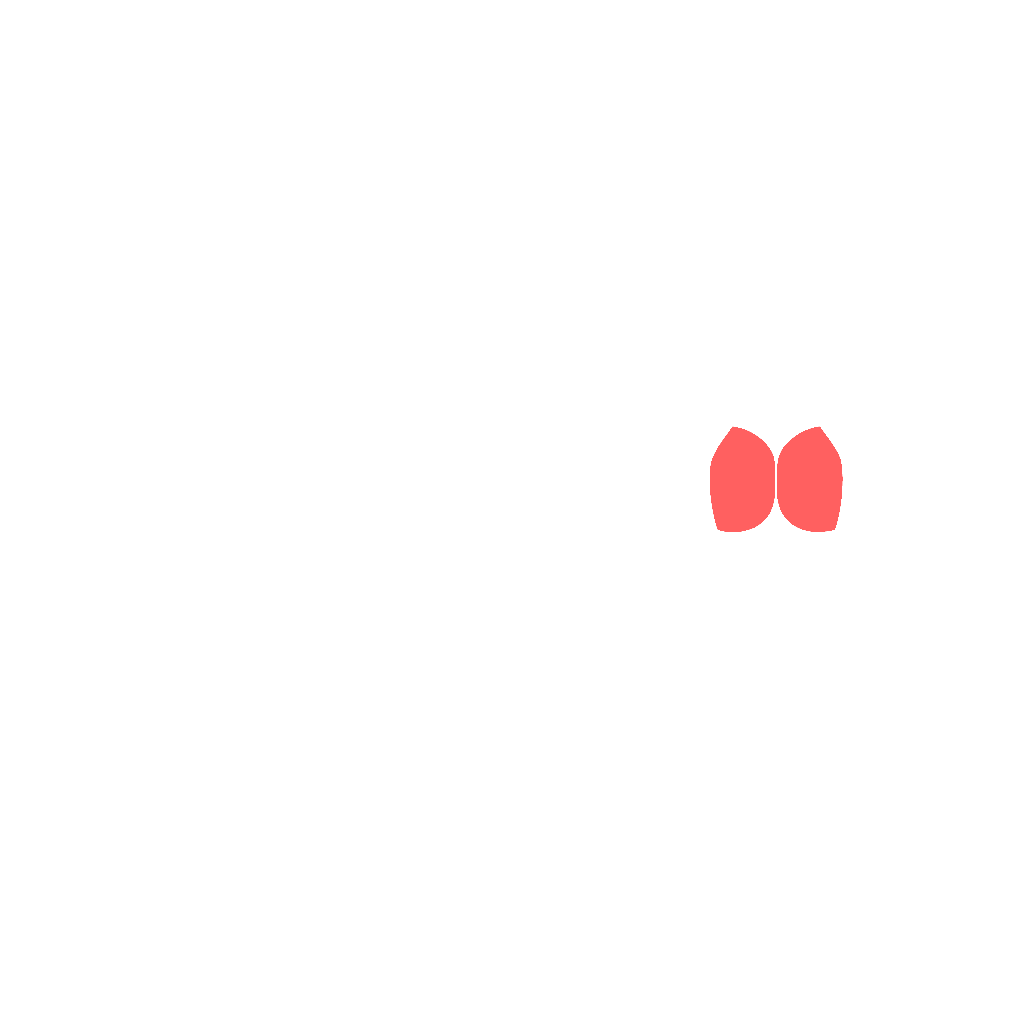
- Erector Spinae, Gluteus Maximus


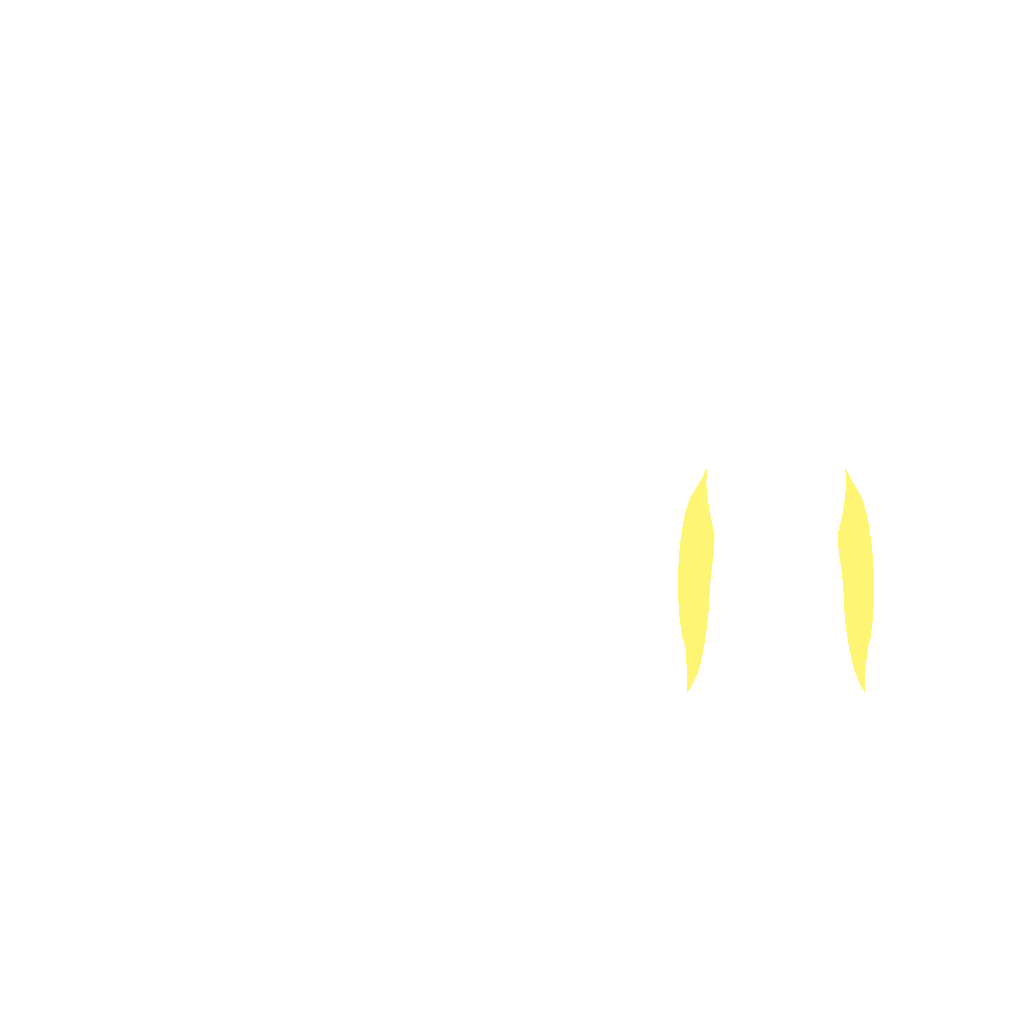

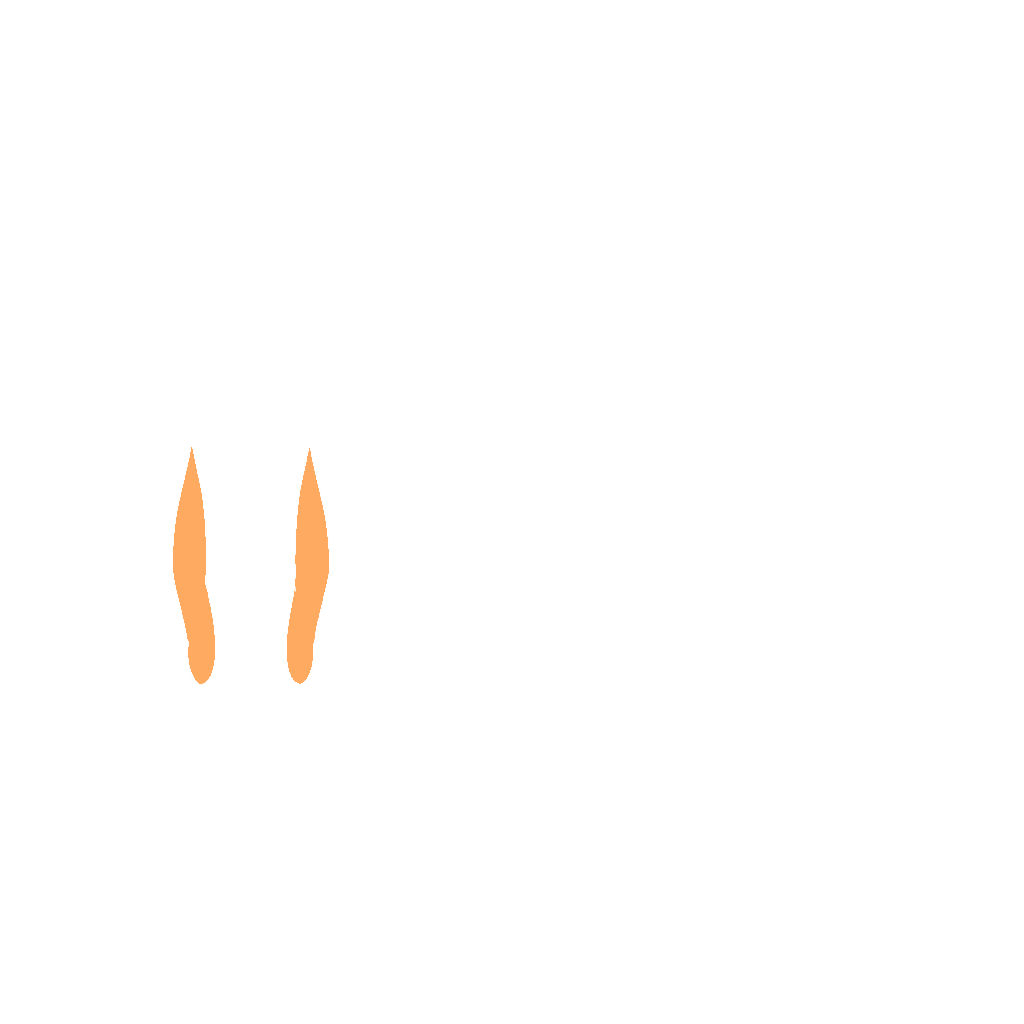
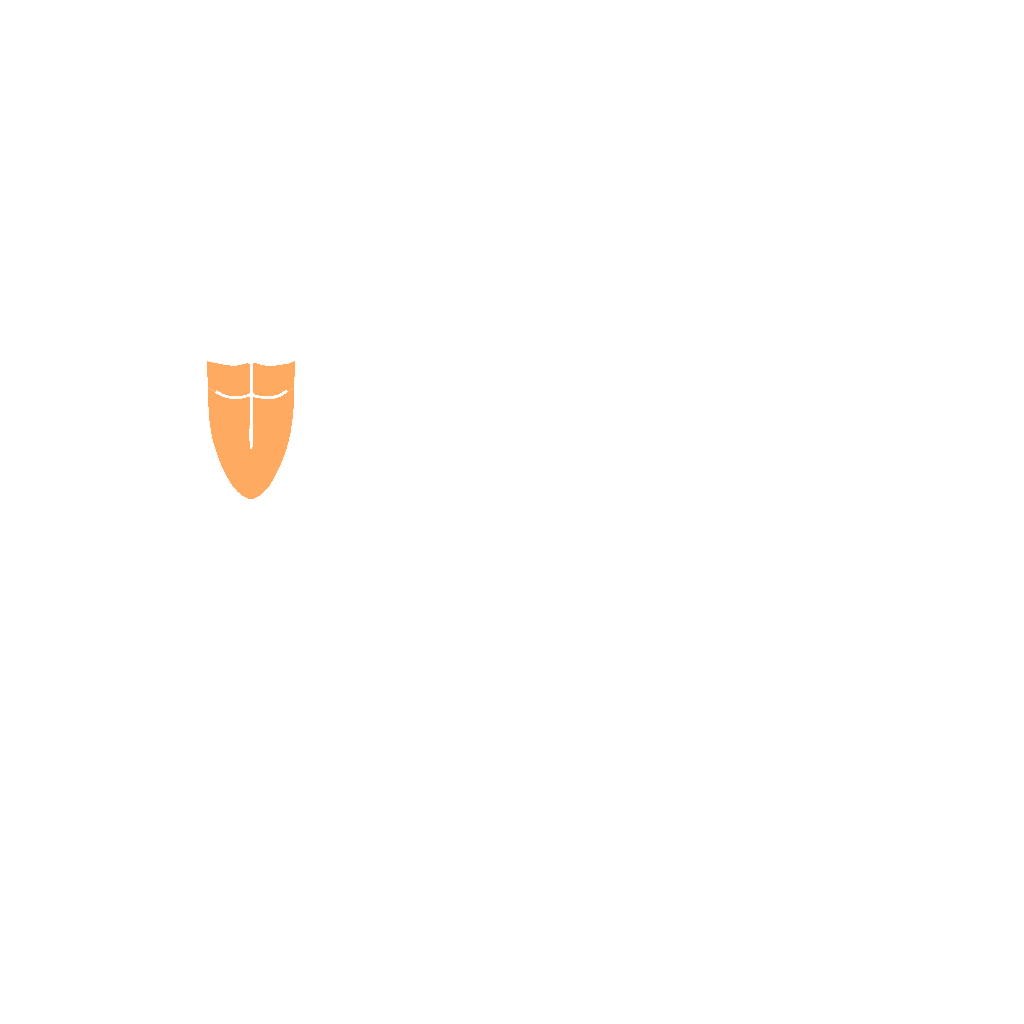
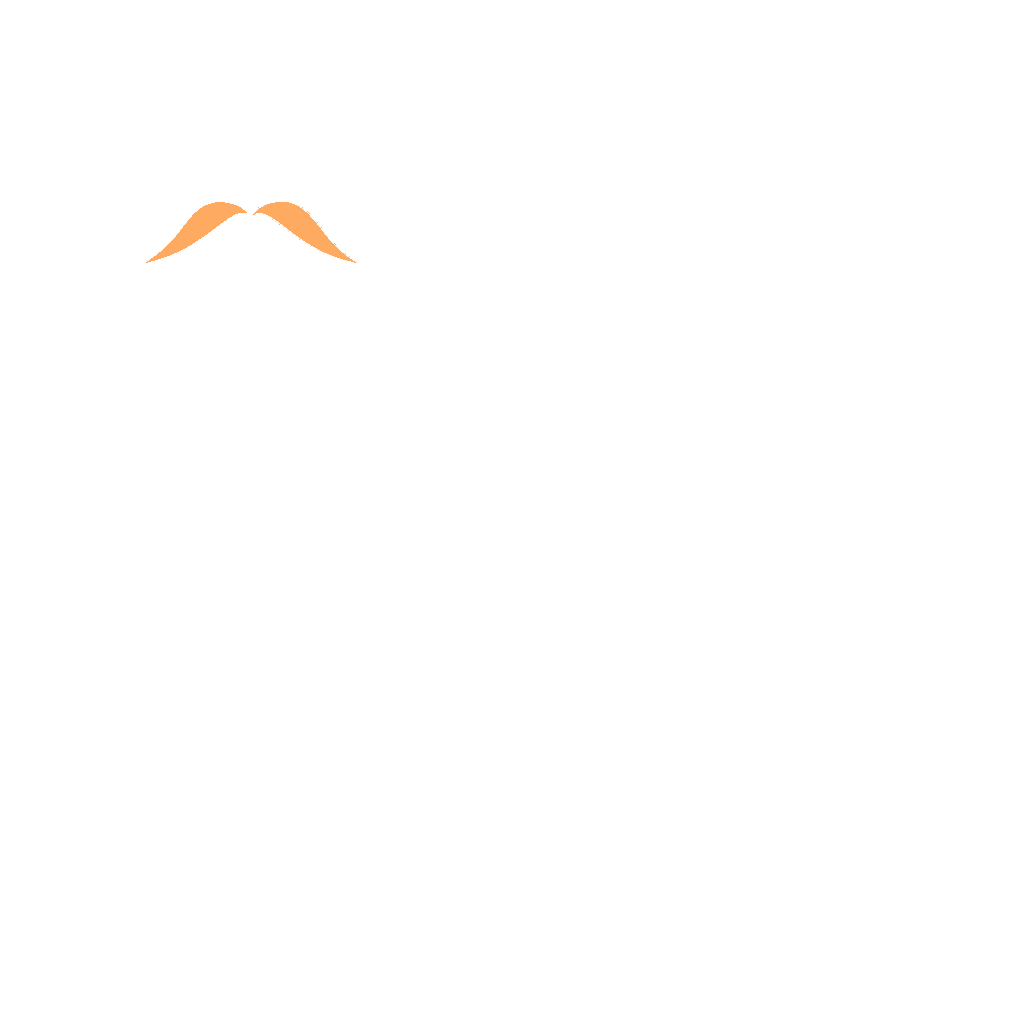

- Target
- Erector Spinae, Gluteus Maximus
- Secondary
- Rectus Femoris, Upper Rectus Abdominals, Pectoralis Major Clavicular
- Tertiary
- Biceps Femoris, Deltoid Anterior
How to do it
- 1
Lie face down, bend the knees, and hold the outsides of both ankles.
- 2
Inhale and kick the feet strongly into the hands to lift the chest and thighs off the floor.
- 3
As you exhale, let the weight shift forward toward the ribs and chin.
- 4
As you inhale, press the feet up and back so you rock toward the thighs.
- 5
Continue rocking for five to eight smooth breaths, keeping the ankles gripped.
- 6
Release the feet and rest with the head turned to one side.
Tips
- Let the breath drive the rock; do not yank the feet or force the range.
- Keep the shoulders drawing back and down so the neck stays long.
- Avoid this pose if the lower back or knees feel irritated; hold a static Bow instead.
- Keep the knees no wider than the hips to concentrate the stretch in the quadriceps.
Variations
Common mistakes
- The breathing runs backward, inhaling forward and exhaling back, and the movement feels stuck because it is fighting the ribs; exhale as you tip forward, inhale as you rock back.
- The rock is started by throwing the head and shoulders, so the swing comes from the top rather than from the feet pressing into the hands.
- The hips leave the mat at the back end of each rock, which makes the pelvis the pivot and hands the hinging to the low back; keep the rocking centered on the belly.
- Ribs and hip bones take the landing on a thin mat, and after a dozen cycles the pose simply hurts; fold a blanket under the belly and ribs.
- Speed climbs until the rock becomes a bounce, and each turnaround yanks the front of the shoulders; bring it back to the pace of your breath.
Frequently asked
- How many rocks should you do in Rocking Bow Pose when you are new to the exercise?
- Five to eight smooth cycles is one round, and one or two rounds is a session. Each cycle should take a full breath, so a round lasts around 30 to 45 seconds. Stop when the rock stops being smooth rather than at a number, because a ragged rock is a jerk on the low back. Rest face down for a few breaths between rounds and expect the second round to move further than the first, since the front of the hips gives a little each time.
- How do I make Rocking Bow Pose gentler, and how do I progress it?
- Easier: hold a static Bow for a few breaths without rocking at all and let the breath simply raise and lower you an inch, which is the same mechanism at a fraction of the range. A blanket under the abdomen makes everything more comfortable, and half bow, one leg at a time, is a fair place to start. Harder: rock further at both ends, run ten to twelve cycles, or pause for a breath at the top of the backward rock where the thighs are highest. Speed is not the progression here; range and control are.
- What is Rocking Bow Pose good for, and when should I do the static version instead?
- The rocking gives the front of the hips and thighs a rhythmic stretch that a still hold does not, and it massages the abdomen while training the back extensors through a moving range, which makes it a lively way to finish backbending work. Do the static version instead whenever the low back or knees are irritable, when the mat is thin and hard, or when you cannot get the breath to drive the movement, because at that point the rock is coming from a jerk of the shoulders.
Related exercises
Other movements among FitRay's 2,000+ exercises that load the same target muscle — same equipment and level first.
- IntermediateBurpeeBody Weight · Chest · Quads
- Intermediate5-10-5 Pro Agility ShuttleBody Weight · Glutes · Quads
- IntermediateLunge MatrixBody Weight · Glutes · Quads
- IntermediateSide KickthroughBody Weight · Abs · Shoulder
- IntermediateSkater JumpBody Weight · Glutes · Quads
- IntermediateVertical JumpBody Weight · Glutes · Quads