Elevated Single-Leg Glute Bridge
Placing the working foot on a bench or box deepens the starting hip flexion, so the single-leg bridge covers more range and hits the glute harder than the flat-floor version. One leg carries the full load while the pelvis must stay level, blending strength with real stability work. It is a strong bodyweight progression before adding external load to single-leg bridging.
- Equipment
- Box
- Body part
- Glutes
- Type
- Balance, Strength
- Browse by muscle
- Gluteus Maximus
- Browse by movement
- Hinge




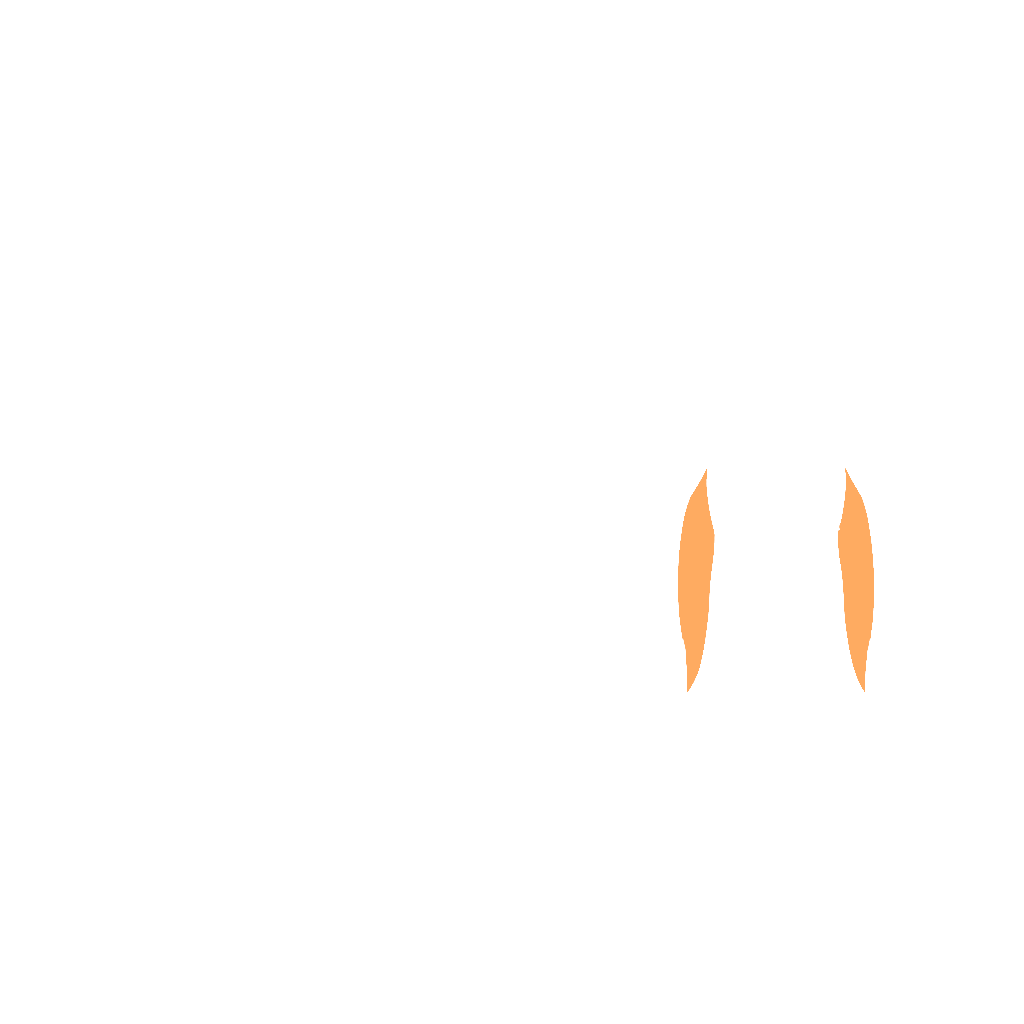
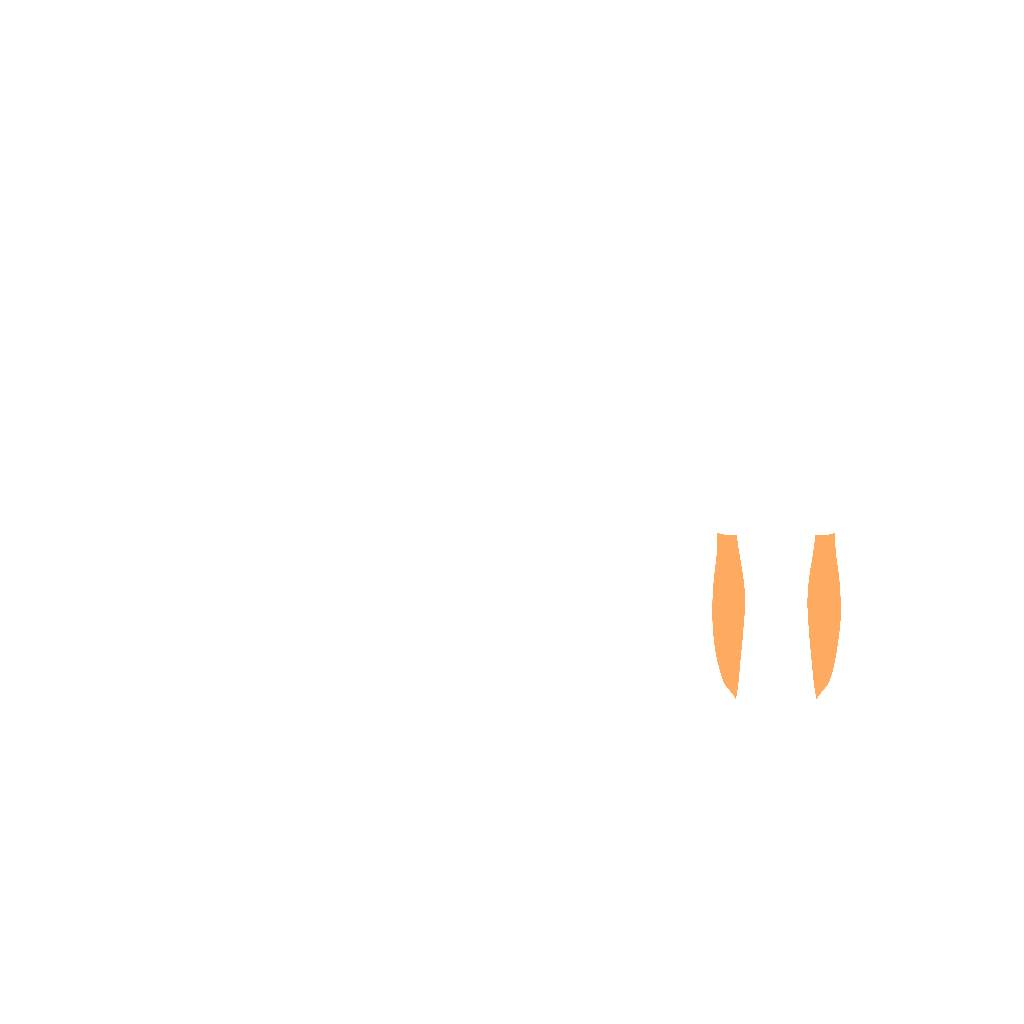
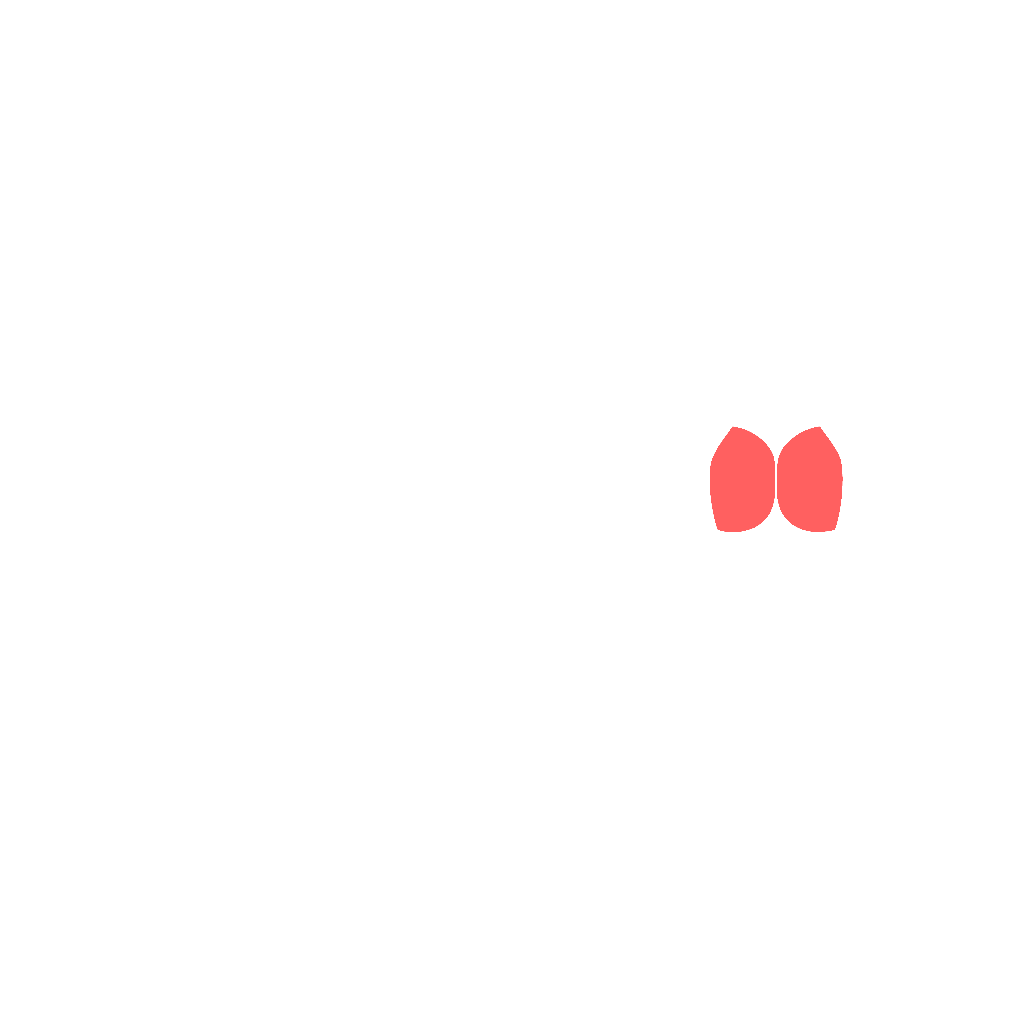
- Target
- Gluteus Maximus
- Secondary
- Biceps Femoris, Semitendinosus
- Tertiary
- Gluteus Medius, Erector Spinae
How to do it
- 1
Lie on the floor with one heel on a low box or bench.
- 2
Lift the other leg and hold it up so only the elevated foot supports you.
- 3
Brace the abs and keep both hip bones pointing at the ceiling.
- 4
Drive through the elevated heel to lift the hips into a straight line.
- 5
Squeeze the glute at the top without letting the pelvis tilt.
- 6
Lower under control and repeat, then switch legs.
Tips
- Keep the hips level; do not let the non-working side sag toward the floor.
- Push through the heel, not the toes, to keep the glute driving.
- Choose a box height you can control with a stable, level pelvis.
Variations
Common mistakes
- Picking a box so tall that the hip starts deeper than you can control, so the low back extends to finish the rep; shin height to knee height is enough.
- Balancing the very back of the heel on the edge of the bench, so the foot slips or the calf cramps; get the whole heel and midfoot onto the surface.
- Pressing hard through the elbows so the shoulders come off the floor, which fakes height the hip never produced.
- Letting the free leg swing down and out as a counterweight, which turns the rep into a kick rather than a hip extension.
- Using a bench that slides on a smooth floor; check it before you start, because the working leg is at full stretch if it moves.
- Dropping fast from lockout now that the floor is further away, so the hips slam down and the next rep starts with a bounce.
Frequently asked
- How many reps of the elevated single-leg glute bridge should I do?
- Three sets of 8 to 12 per side is the working range, but earn it first: 15 clean reps of the flat-floor single-leg bridge with the pelvis level tells you the elevated version will not simply become a low-back exercise. Start with a step around shin height and raise it only once the hips stay square through every rep. From there, add a two-second hold at the top before you add any weight.
- How can I make the elevated single-leg glute bridge easier or harder?
- Easier: lower the box, or rest the free heel lightly on the same surface so it carries a share of the load. A knee tucked to the chest is also easier to control than a straight free leg. Harder: hold lockout for three to five seconds, take four seconds to lower, or lay a dumbbell across the hip and pin it with one hand. Raising the box past knee height mostly adds low-back work rather than glute work, so save height for last.
- Who should be doing the elevated single-leg glute bridge?
- It suits anyone training at home who has run out of bodyweight glute work, and anyone building toward a single-leg hip thrust; the extra range at the bottom is what makes it bite compared with the floor version. It also exposes a side that cannot hold the pelvis level. It is not a good primer before heavy squats or deadlifts, since it is fatiguing enough to cost you on the main lift, and it is the wrong pick if the pelvis tips within the first few reps.
Related exercises
Other movements among FitRay's 2,000+ exercises that load the same target muscle — same equipment and level first.
- IntermediateDeficit Romanian DeadliftBarbell · Box · Glutes
- IntermediateFeet-Elevated Hip ThrustBarbell · Bench · Box
- BeginnerFeet-Elevated Glute BridgeBox · Glutes · Hamstring
- IntermediateBarbell Hip ThrustBarbell · Bench · Glutes
- IntermediateBarbell Romanian DeadliftBarbell · Glutes · Hamstring
- IntermediateDumbbell Deadlift to High PullDumbbell · Glutes · Traps