Hanging L-Sit to Tuck
From a dead hang you raise into an L with legs straight and horizontal, then draw the knees into a tuck and extend back to the L without dropping the thighs. Alternating between the straight-leg L and the tuck trains active compression across two of its hardest positions. It carries over strongly to strict toes-to-bar and front-lever leg lifts. Keep the thighs high the entire time so the lower abs never get a break.
- Equipment
- Pull-Up Bar
- Type
- Strength
- Browse by muscle
- Lower Rectus Abdominals, Rectus Femoris
- Browse by movement
- Core Brace






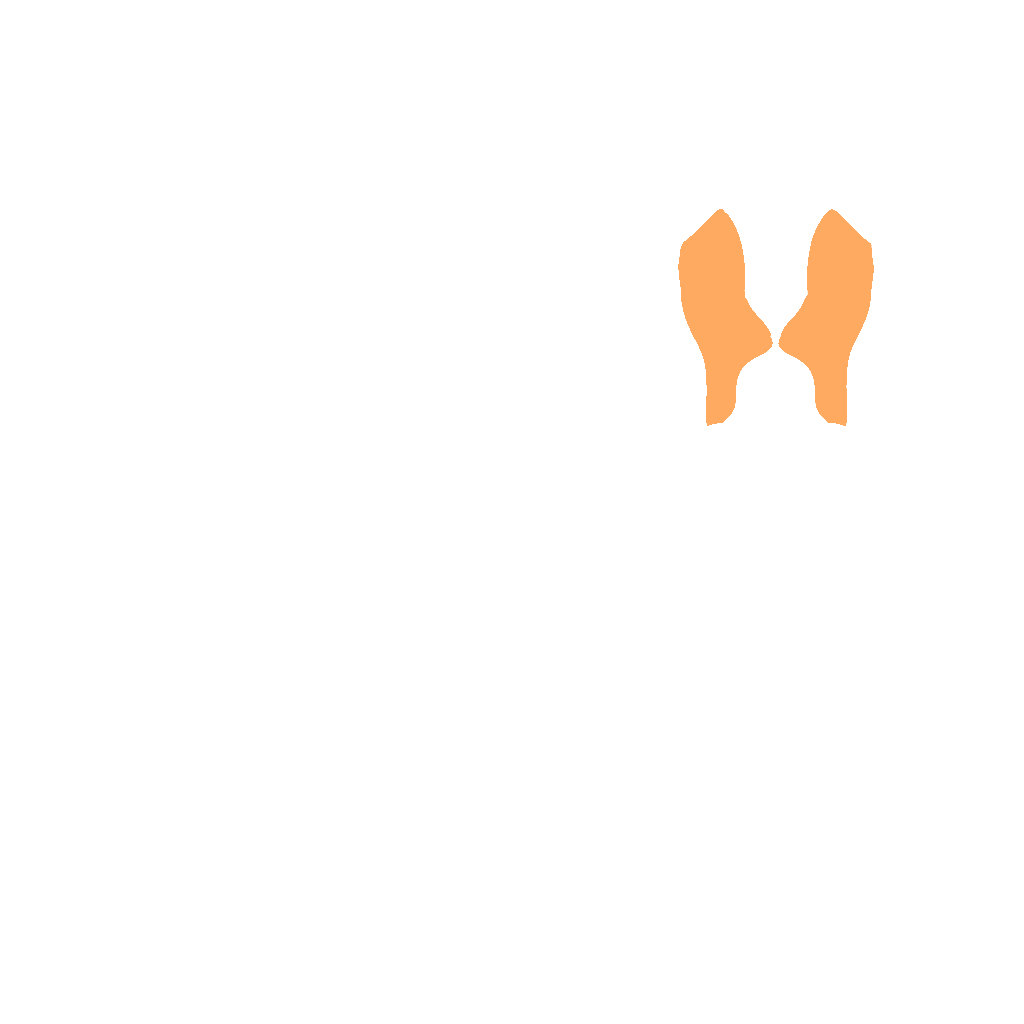


- Target
- Lower Rectus Abdominals, Rectus Femoris
- Secondary
- Upper Rectus Abdominals, Latissimus Dorsi
- Tertiary
- Abdominal External Oblique, Brachioradialis
How to do it
- 1
Hang from the bar with an overhand grip and set the lats to steady the shoulders.
- 2
Raise straight legs to a hanging L with the thighs at least parallel to the floor.
- 3
Keeping the thighs lifted, fold the knees into a tight tuck toward the chest.
- 4
Extend the legs back out to the straight L without letting the thighs drop.
- 5
Repeat the fold-and-extend for reps, exhaling as you tuck and inhaling as you extend.
- 6
Lower to a controlled dead hang once the set is complete.
Tips
- Hold the thighs at a fixed height so only the knees move; that keeps the abs loaded.
- Posteriorly tilt the pelvis to hold the L position without swinging.
- Pull down on the bar throughout to engage the lats and kill momentum.
Variations
Common mistakes
- The hip flexors do most of the folding while the lower abs stay quiet, turning the tuck into a hanging knee raise instead of active compression.
- Grip fatigue creeps in on the later reps, and a slipping hand turns into a shoulder-first kip instead of a controlled fold.
- Holding the breath through the whole set spikes pressure with nothing bracing it; breathe with the tuck and extend the way the steps describe.
- The chin drops to watch the feet during the tuck, rounding the upper back and bleeding tension out of the lats that are supposed to steady the hang.
- By the last few reps the knees splay apart on the fold instead of tracking straight to the chest, letting the obliques take over from the rectus abdominis.
Frequently asked
- What is a good starting dose for the hanging L-sit to tuck, and what should you master first?
- Start with 3 sets of 4 to 6 clean reps, resting 90 seconds to 2 minutes between sets, and stop the set the moment the thighs start dropping on the tuck. Before adding this movement you should already hold a strict hanging L-sit for 10 to 15 seconds and control a tempo hanging knee raise for reps; without that base the tuck degrades into kipping almost immediately. Add a rep or two per week only while the straight-leg L stays parallel throughout.
- What can you do instead of the hanging L-sit to tuck if you don't have a pull-up bar?
- A sturdy set of parallel bars or a dip station works the same way if you support yourself on straight arms instead of hanging, tucking and extending the knees while the shoulders stay depressed. A suspension trainer or a pair of gymnastic rings anchored overhead is the closer substitute since it keeps the actual hang. Without any overhead anchor, drop to a supported hollow-body tuck-and-extend on the floor to build the same compression before returning to the hang.
- Who is the hanging L-sit to tuck for, and when should you skip it?
- It is built for lifters chasing strict toes-to-bar, front-lever progressions, or general hanging core strength, since it trains the abs to hold active compression through two demanding leg positions. Skip it if you cannot yet hang comfortably for 20 to 30 seconds with the shoulders packed, or if you have any wrist, elbow, or shoulder issue that makes hanging painful; build grip and shoulder capacity first.
Related exercises
Other movements among FitRay's 2,000+ exercises that load the same target muscle — same equipment and level first.