Standing Hand-to-Big-Toe Pose
This pose stacks a hamstring stretch on top of a demanding single-leg balance. The standing glute medius and quad work continuously to keep the pelvis level, while the lifted-leg hip flexors hold the leg up and its hamstring lengthens. It exposes any weakness in single-leg control, so start with the knee bent or a strap around the foot before extending the leg fully.
- Equipment
- Body Weight
- Type
- Balance, Stretching, Yoga
- Browse by muscle
- Gluteus Medius, Vastus Lateralis


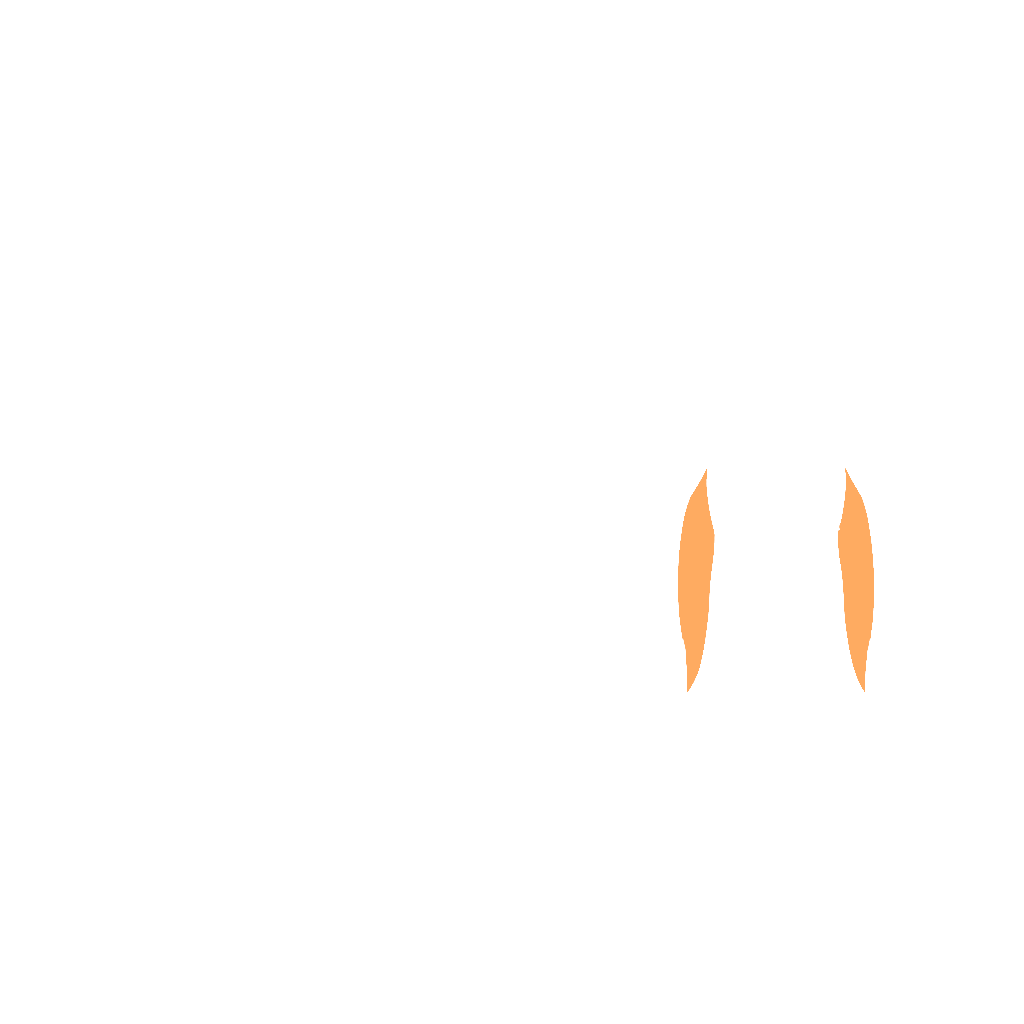
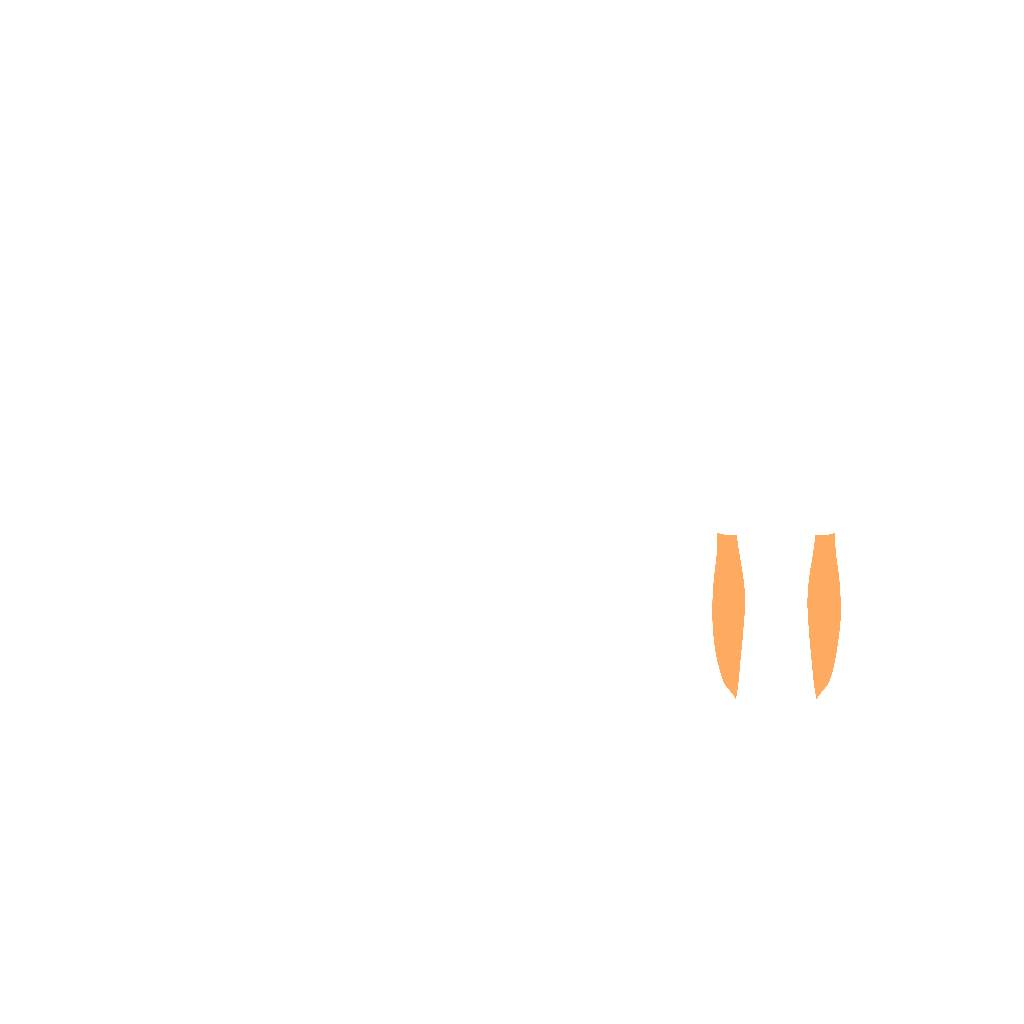
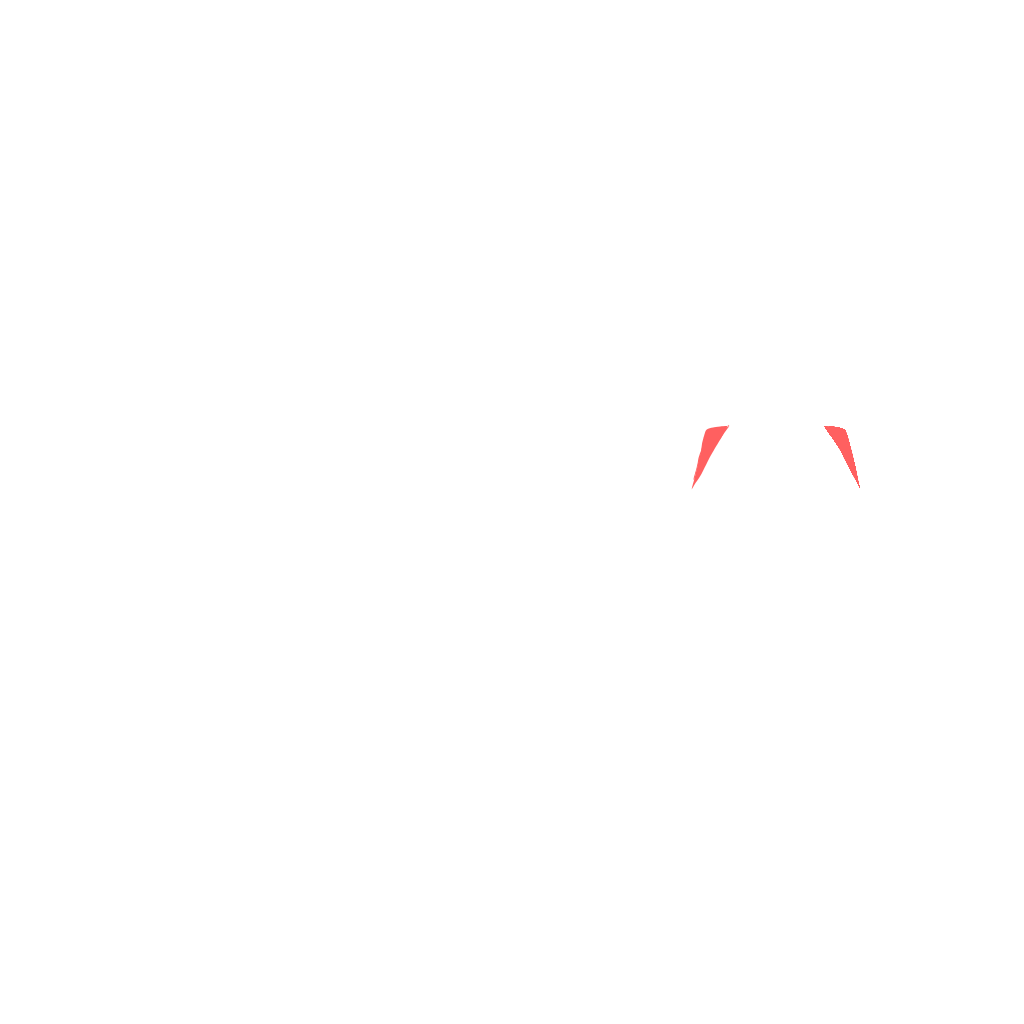
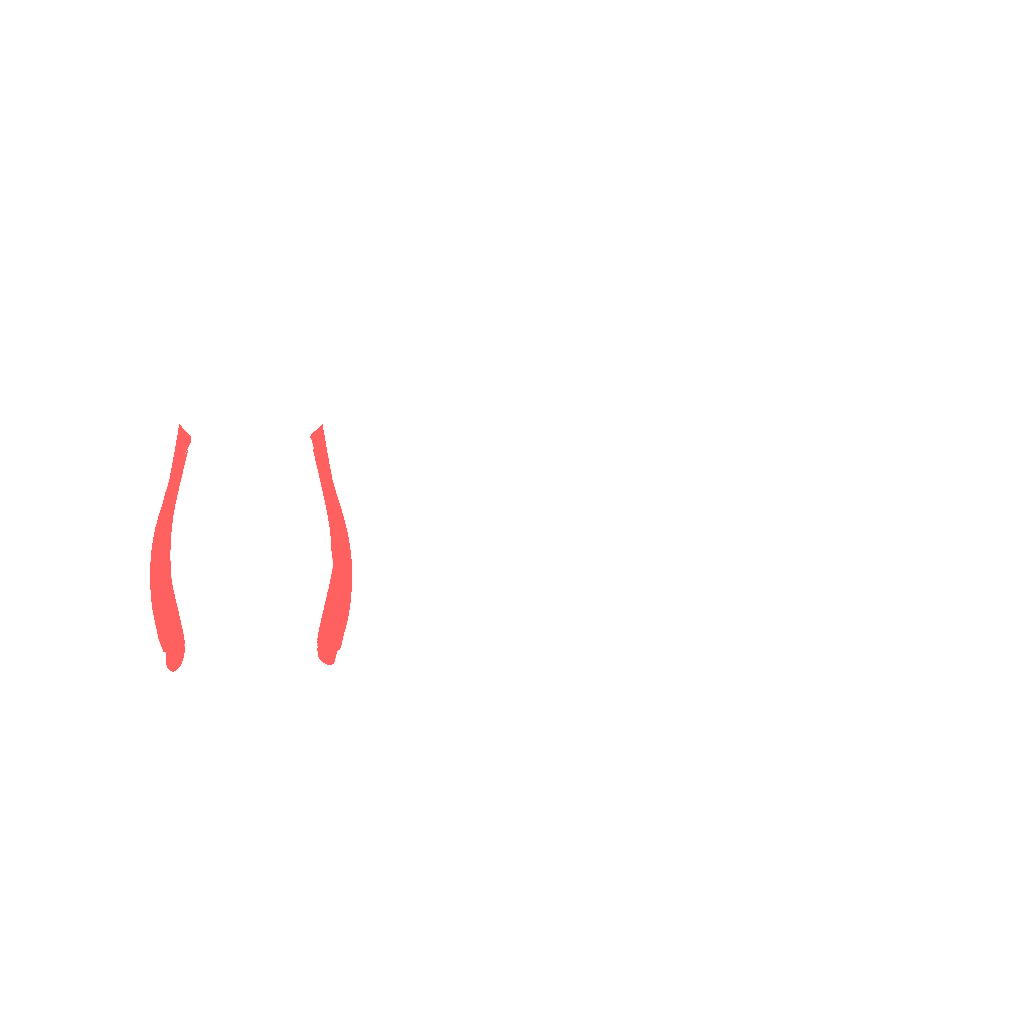
- Target
- Gluteus Medius, Vastus Lateralis
- Secondary
- Rectus Femoris, Biceps Femoris, Semitendinosus
- Tertiary
- Sartorius, Soleus Gastrocnemius, Abdominal External Oblique
How to do it
- 1
Stand tall and shift your weight onto one foot with a soft knee.
- 2
Draw the other knee up toward the chest and catch the big toe or loop a strap around the foot.
- 3
Steady your balance, then extend the held leg forward until it straightens as far as it comfortably can.
- 4
Keep the standing leg strong and the hips level and squared forward.
- 5
Lift the chest and lengthen the spine rather than rounding toward the leg.
- 6
Hold with a fixed gaze, lower with control, and switch sides.
Tips
- Use a strap around the foot so the spine can stay tall while the leg extends.
- Keep the standing hip from popping out to the side by engaging its glute.
- Straighten the lifted leg only as far as balance and hamstring length allow.
Variations
Common mistakes
- The torso leans back as the leg reaches forward, so the two cancel each other out and the pose becomes a recline on one leg rather than a hold.
- The standing knee sags into a bend as the held leg extends, and any height you seem to gain has come from the leg you are standing on.
- The lifted knee folds back toward the chest every time the balance wavers, so the leg pumps like an accordion; lower the height and keep it still instead.
- The toe is caught with all four fingers and a bent wrist, which cramps the hand within a few breaths; hook the first two fingers and the thumb around the big toe.
- Each side gets held for as long as it happens to last, so the good side gets a minute and the other gets ten seconds; time the first side and give the second the same.
Frequently asked
- How long should I hold Standing Hand-to-Big-Toe Pose, and what should I have first?
- A steady Tree Pose for a minute a side, and enough hamstring length to reach the foot with a strap while standing tall, are the two things worth owning first. Then hold for five breaths a side, two rounds, with the leg only as straight as your spine stays long. Come down as soon as the standing hip starts hiking rather than fighting for extra seconds. Practising near a wall means a wobble costs nothing, which lets you hold longer and learn more.
- How do I make Standing Hand-to-Big-Toe Pose easier or harder?
- Easier: loop a strap around the foot, hold the shin or the back of the thigh with the knee bent, or stand with your back and the lifted heel against a wall so balance is not the limiting factor. Harder: drop the strap, straighten the leg further while keeping the chest lifted, then let go of the foot entirely and hold the leg up with the hip flexors, which is a different and much harder exercise. Opening the leg out to the side is the next shape in the family and asks considerably more of the standing hip.
- What is Standing Hand-to-Big-Toe Pose for, and when is it a poor choice?
- It trains single-leg control and hamstring length at the same time, which exposes any weakness in the standing hip, and it is a useful check on balance for runners and anyone who spends their training on two legs. It is a poor choice if all you want is a hamstring stretch, because balance will stop you long before the hamstring does; the reclining version gives you a deeper stretch with none of the wobble. Skip it while a hamstring is strained or an ankle is unstable.
Related exercises
Other movements among FitRay's 2,000+ exercises that load the same target muscle — same equipment and level first.
- AdvancedBoundingBody Weight · Glutes · Quads
- AdvancedBalance WindmillBody Weight · Glutes · Hamstring
- AdvancedBound Side Angle PoseBody Weight · Quads · Thighs
- AdvancedBound Warrior IBody Weight · Quads · Shoulder
- AdvancedBound to Vertical JumpBody Weight · Glutes · Quads
- AdvancedCombination BoundBody Weight · Glutes · Quads