Tuck Front Lever Hold
This is where straight-arm pulling strength really begins, because your lats have to pull the body toward horizontal with the elbows locked, a job they almost never do in a normal pull-up. Tucking the knees shortens the lever so the load on your midsection and shoulders stays manageable while you learn to fight the arch. Hold it for time and gradually open the tuck once you can own five to ten clean seconds.
- Equipment
- Pull-Up Bar
- Type
- Strength
- Browse by muscle
- Latissimus Dorsi
- Browse by movement
- Core Brace, Vertical Pull











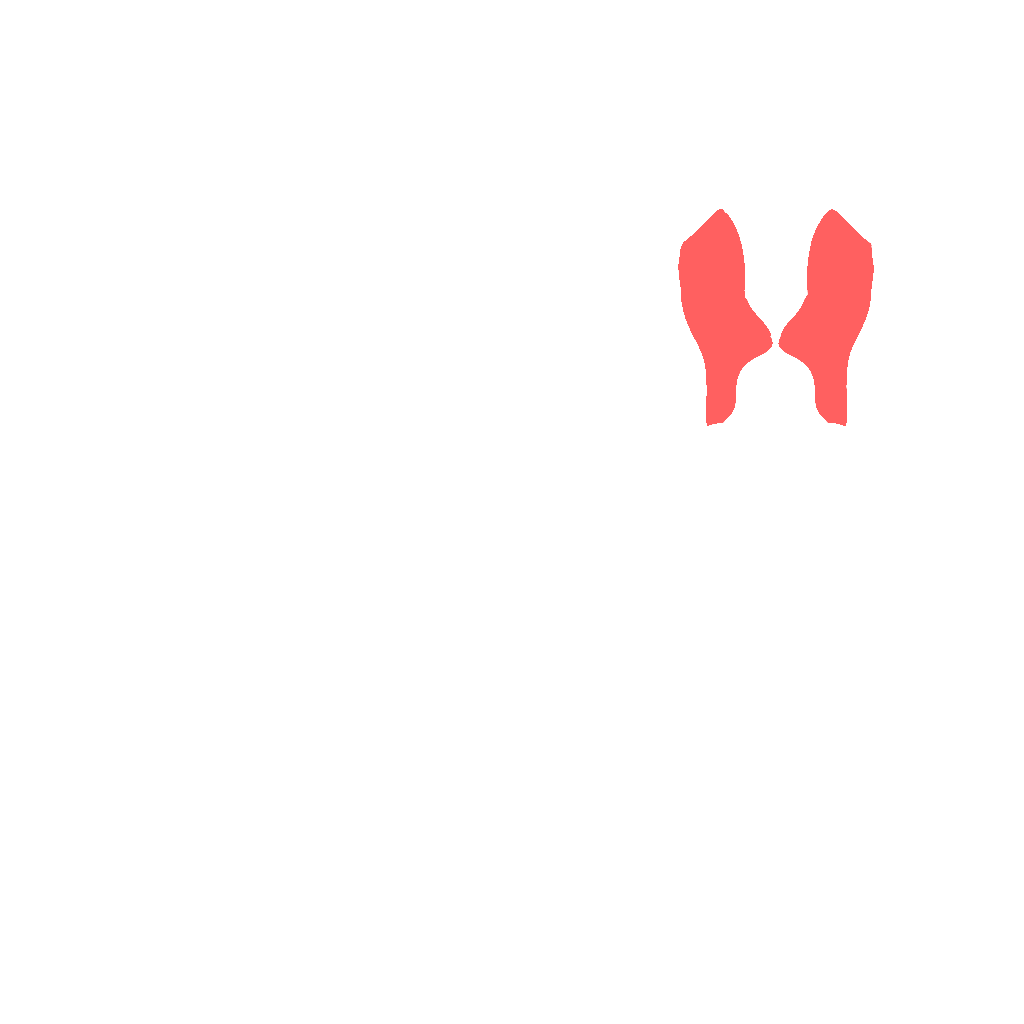
- Target
- Latissimus Dorsi
- Secondary
- Lower Rectus Abdominals, Upper Rectus Abdominals, Trapezius Lower, Trapezius Middle, Biceps Brachii Long Head
- Tertiary
- Abdominal External Oblique, Deltoid Posterior, Brachioradialis
How to do it
- 1
Hang from a straight bar with an overhand, shoulder-width grip and arms locked out.
- 2
Depress and slightly retract your shoulder blades so you feel your lats switch on.
- 3
Keeping the elbows straight, pull the bar toward your hips and lift your back until your torso is parallel to the floor.
- 4
Tuck your knees tight to your chest and hold your shins level with your hips.
- 5
Brace your abs hard to keep your lower back flat, then lower under control before the shape breaks.
Tips
- Think about pushing the bar down and away rather than bending the arms; the elbows must stay locked.
- Posterior tilt the pelvis and squeeze the abs to kill the arch that sinks most beginners' hips.
- Open the knees a few degrees at a time to progress toward an advanced tuck and then a full lever.
Variations
Common mistakes
- Once the shins drift below hip height, the tuck opens on its own and the position quietly turns into an advanced tuck without any warm-up for the extra load.
- Rushing straight into the tuck from a dead hang skips the shoulder depression that needs to happen first, so the lats never really engage.
- The chin juts forward to peek at the feet, tipping the head back and loading the neck instead of keeping it in line with the spine.
- Holding the breath through the whole set spikes tension in the neck and traps instead of leaving it in the lats where it belongs.
Frequently asked
- How long should a tuck front lever hold be when you are new to the exercise?
- Build up to 5 sets of 5 to 10 second holds, resting close to 90 seconds between attempts, before you worry about opening the tuck at all. Once ten clean seconds feels easy, start opening the knees a few degrees rather than adding hold time.
- How do you make the tuck front lever easier if you cannot hold it yet?
- Practice tuck front lever pulls from a dead hang, or hold the horizontal shape with your feet resting on a low support so there is less load to control. Make it harder once ten-second holds feel solid by opening the tuck slightly toward the advanced tuck version.
- Who is the tuck front lever hold for, and when should you skip it?
- It is the standard entry point to straight-arm pulling strength for anyone building toward skills like the full front lever, and it also strengthens the lats and core for regular pull-up and row work. Skip it, or stick to dead hangs, if hanging causes any shoulder pain, since the position asks a lot of an already-loaded joint.
Related exercises
Other movements among FitRay's 2,000+ exercises that load the same target muscle — same equipment and level first.
- AdvancedPull-UpPull-Up Bar · Back · Lats
- AdvancedBar Muscle-UpPull-Up Bar · Back · Lats
- AdvancedFront Lever RaisePull-Up Bar · Abs · Back
- AdvancedFull Front Lever HoldPull-Up Bar · Abs · Lats
- AdvancedWeighted Pull-UpPlate · Pull-Up Bar · Back
- AdvancedAdvanced Tuck Back Lever HoldPull-Up Bar · Biceps · Lats