Advanced Tuck Front Lever Raise
This raise trains the dynamic straight-arm pull that builds toward a straddle and full front lever. The advanced tuck opens the hips and lengthens the lever compared with a full tuck, so the lats and core work much harder to control the ascent and descent. Keep the arms locked to load the lats rather than the biceps.
- Equipment
- Pull-Up Bar
- Type
- Strength
- Browse by muscle
- Latissimus Dorsi
- Browse by movement
- Core Brace, Vertical Pull










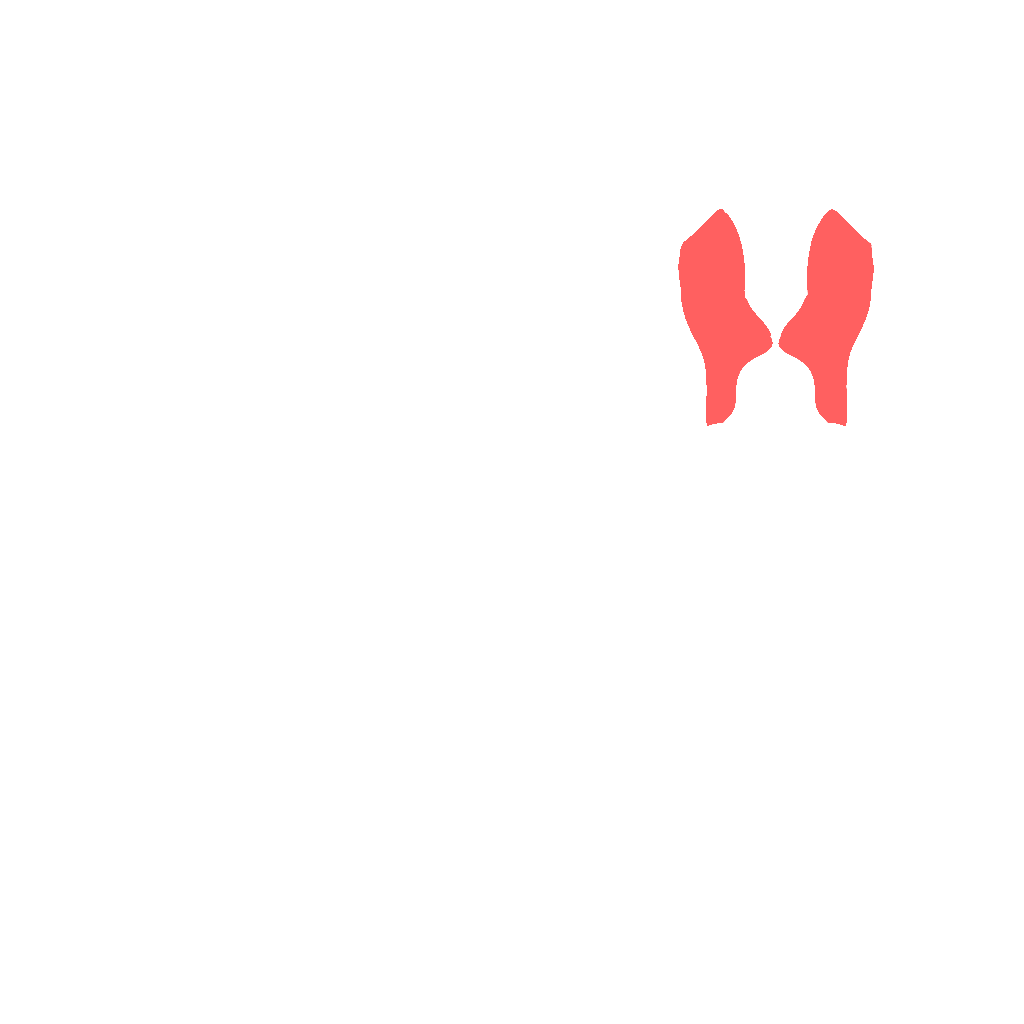
- Target
- Latissimus Dorsi
- Secondary
- Lower Rectus Abdominals, Upper Rectus Abdominals, Trapezius Lower, Erector Spinae
- Tertiary
- Abdominal External Oblique, Biceps Brachii Long Head, Brachioradialis
How to do it
- 1
Hang from the bar with a shoulder-width overhand grip and arms fully straight.
- 2
Set the shoulders down and back, then draw the knees into an advanced tuck with hips partly open.
- 3
Keeping the elbows locked, pull the straight arms down and back to bring the body horizontal.
- 4
Reach the advanced tuck front lever position with the torso parallel to the floor.
- 5
Lower under control back toward the hang without bending the arms or letting the hips drop first.
- 6
Breathe out on the raise and stay braced through the whole range.
Tips
- Think about pushing the bar toward your hips with straight arms rather than pulling with the elbows.
- Keep the pelvis tucked so the lower back does not overarch as the body levels out.
- If the shoulders shrug up as you raise, reduce the range until you can keep them packed.
Variations
Common mistakes
- The knees creep back toward the chest at the hardest point, quietly turning an advanced tuck into a full tuck; hold the same hip angle from the hang to horizontal.
- The shape has a definition, shins roughly parallel to the floor and thighs near 90 degrees to the torso, and most people are far more tucked than they believe. Film one set from the side.
- On the way down the hips sink first and the shoulders follow, which is the body escaping the lever; lower the whole line together even if the range gets shorter.
- Each rep starts from wherever the last one ended, so the hang gets shorter as the set goes on; come all the way back to a still, straight hang or you are training half a rep.
- Progress gets measured in extra reps when the useful jump is opening the tuck a few degrees; three good reps at a longer lever beat ten at a short one.
Frequently asked
- How many advanced tuck front lever raises should I do in a session?
- Five sets of 4 to 6 reps with two minutes of rest, two or three times a week, is a productive session. Because this is a strength skill rather than a fatigue exercise, end each set while the reps still look like the first one. If you can hit 6 clean reps across all five sets, open the tuck slightly instead of adding a sixth set.
- How do I make the advanced tuck front lever raise easier or harder?
- Easier: bring the knees closer to the chest, stop a few degrees below horizontal, or drop into the tuck from the top and lower only halfway. Harder: open the hip angle a little every week, hold horizontal for two seconds, take five seconds to lower, or do the raise on rings, where nothing is fixed. The straddle raise is the next full step once your hips open with no shrug.
- Why train the advanced tuck version instead of going straight for the full front lever raise?
- Because the tuck lets you train the real straight-arm pull at a lever short enough to control, which is how most people ever reach a straddle or full raise. It suits calisthenics athletes and anyone building toward the front lever. It is a poor choice if you cannot yet hold an advanced tuck position still for a few seconds, and a poor choice for someone who wants a bigger back, where weighted pull-ups do more with less.
Related exercises
Other movements among FitRay's 2,000+ exercises that load the same target muscle — same equipment and level first.
- AdvancedPull-UpPull-Up Bar · Back · Lats
- AdvancedBar Muscle-UpPull-Up Bar · Back · Lats
- AdvancedFront Lever RaisePull-Up Bar · Abs · Back
- AdvancedFull Front Lever HoldPull-Up Bar · Abs · Lats
- AdvancedWeighted Pull-UpPlate · Pull-Up Bar · Back
- AdvancedAdvanced Tuck Back Lever HoldPull-Up Bar · Biceps · Lats