One-Legged Wheel Pose
One-Legged Wheel is a peak backbend that combines the full arm-supported arch of Wheel with a single-leg lift, hugely opening the chest, shoulders, and hip flexors. It requires strong wrists and shoulders, open thoracic spine, and a solid Wheel first. Attempt it only when a full Wheel feels stable and pain-free.
- Equipment
- Body Weight
- Type
- Stretching, Yoga
- Browse by muscle
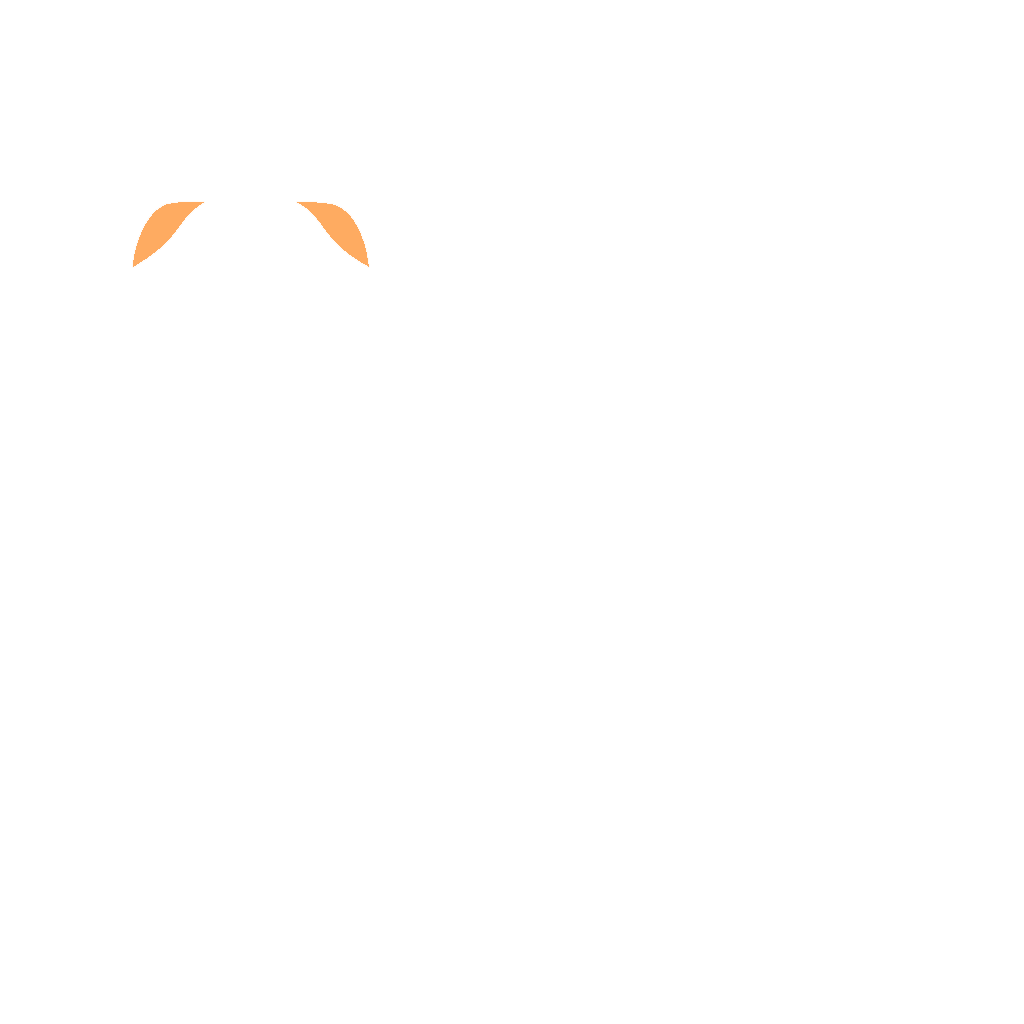
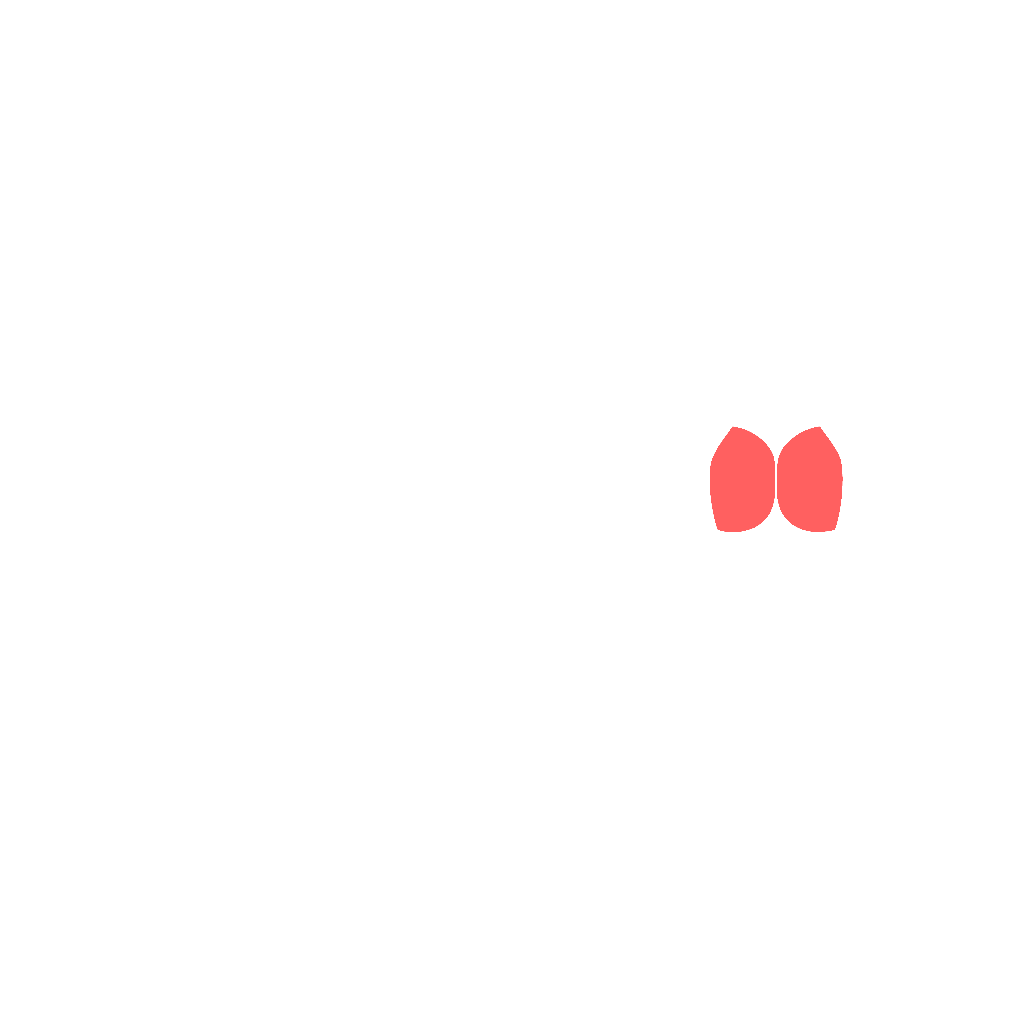
- Erector Spinae, Gluteus Maximus



- Target
- Erector Spinae, Gluteus Maximus
- Secondary
- Rectus Femoris, Pectoralis Major Clavicular, Deltoid Anterior
- Tertiary
- Triceps Brachii Long Head, Upper Rectus Abdominals
How to do it
- 1
From your back, plant the hands by the ears and the feet flat near the hips.
- 2
Press up into a full Wheel, straightening the arms and lifting the chest through the shoulders.
- 3
Shift a little weight into three limbs and slowly extend one leg straight up.
- 4
Keep the standing foot rooted and the hips level as the free leg reaches for the ceiling.
- 5
Hold for a couple of breaths, gazing back between the hands.
- 6
Lower the lifted foot, come down through Wheel with a tucked chin, and rest before switching sides.
Tips
- Establish a strong, even Wheel first; do not lift a leg until the base pose is effortless.
- Press firmly through the hands to keep weight off the neck and out of the wrists.
- Keep the standing knee tracking over the toes so the lifted hip does not collapse.
- Exit by tucking the chin and lowering the upper back first to protect the neck.
Variations
Common mistakes
- The leg lifts before the weight has shifted, so three limbs push in three directions and the hips drop the moment the foot leaves the floor.
- The lifted leg swings up fast for height, and all of that momentum lands in the low back the instant the leg stops.
- The lifted hip drops toward the floor as the leg rises, so the pelvis tilts and one side of the low back carries the whole arch.
- The lifted knee bends and the foot hooks back over the head, which looks taller but only shortens the hip flexor you came here to open.
- The second side gets attempted without coming down first, and by then the arms have nothing left; lower, rest a minute, and press up again.
Frequently asked
- What is a sensible dose for One-Legged Wheel Pose, and what should come first?
- A full Wheel that feels effortless for five breaths, with straight arms and no wrist or low back complaint, is the entry requirement. Then two or three breaths per side, one or two attempts each, lowering fully between them. Treat it as a peak shape you visit briefly, not something to hold. If the base Wheel is only just there on the day, do that instead and leave the leg on the floor; the leg lift takes a stable pose and makes it a precarious one.
- How do I build up to One-Legged Wheel Pose, and how do I make it harder?
- Easier: build it in one-legged Bridge first, where the same hip and pelvis control is trained with the shoulders out of it. In Wheel itself, lift the foot only an inch or two, or bring the knee toward the chest rather than reaching the leg upward. Setting the standing foot on a low block shortens the distance the hips have to travel. Harder: lift the leg higher with the knee straight and the hips level, hold for longer, or press up into the pose with the leg already lifted, which very few people can do cleanly.
- What is One-Legged Wheel Pose for, and who should leave it alone?
- It is a peak backbend: it opens the chest, shoulders and hip flexors more than Wheel does and demands real strength through the arms, glutes and back to hold three points of contact steady. It suits an experienced practice building toward deeper backbends. Leave it alone if your Wheel is a struggle, if a wrist or shoulder is painful under load, or if your low back is irritable, since taking one leg away sends the arch straight into the segment that is already sore.
Related exercises
Other movements among FitRay's 2,000+ exercises that load the same target muscle — same equipment and level first.
- AdvancedBoundingBody Weight · Glutes · Quads
- AdvancedPeacock PoseBody Weight · Back · Forearms
- AdvancedBound Side Angle PoseBody Weight · Quads · Thighs
- AdvancedBound Warrior IBody Weight · Quads · Shoulder
- AdvancedBound to Vertical JumpBody Weight · Glutes · Quads
- AdvancedCombination BoundBody Weight · Glutes · Quads