Kettlebell Windmill-to-Press Flow
This flow holds a bell overhead through a windmill, then returns to standing and presses it, marrying deep lateral core and hip work with an honest shoulder press. The obliques and hamstrings control the windmill's hinge and rotation while the delt keeps the bell locked out, and the press adds pushing strength each rep. It rewards mobility and control, making it a striking advanced drill for the trunk and shoulders together.
- Equipment
- Kettlebells
- Type
- Balance, Functional, Strength
- Browse by muscle
- Abdominal External Oblique, Deltoid Anterior, Gluteus Maximus
- Browse by movement
- Hinge, Rotation, Vertical Press






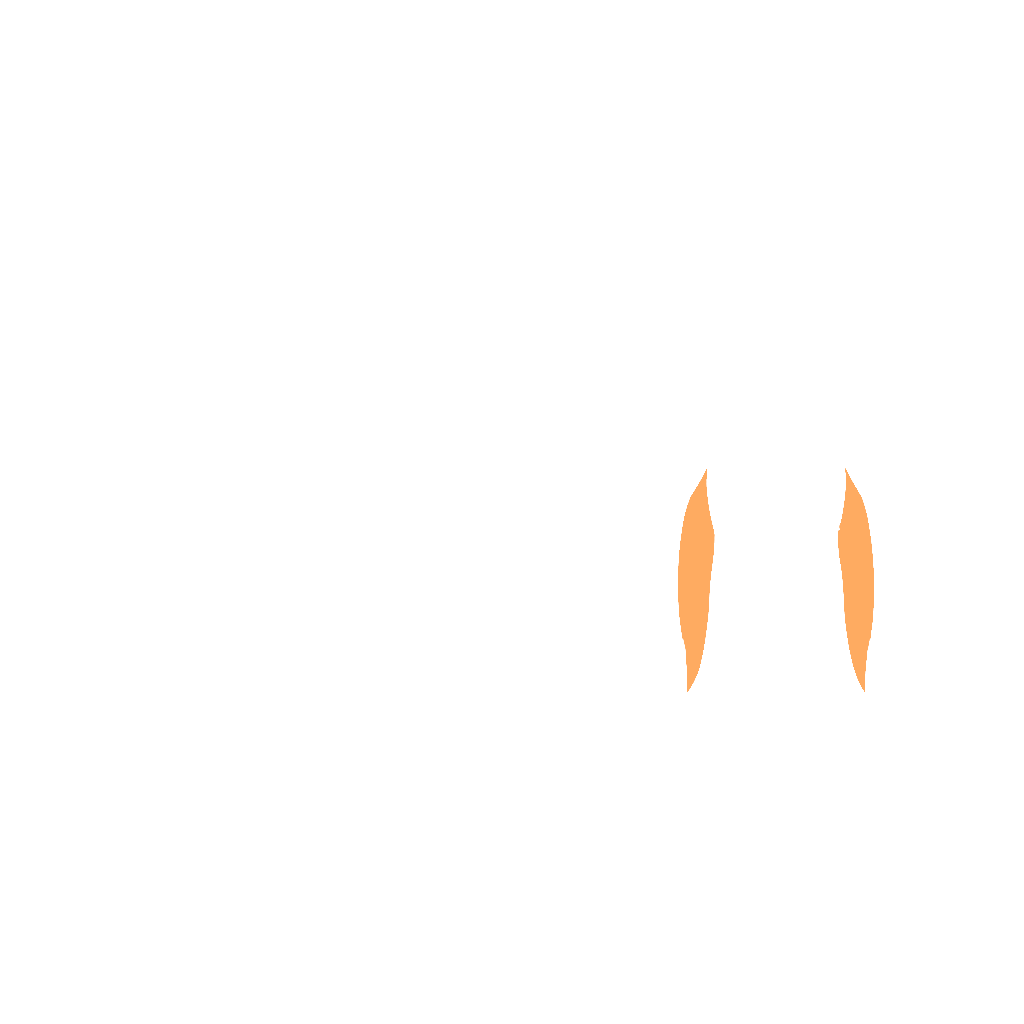
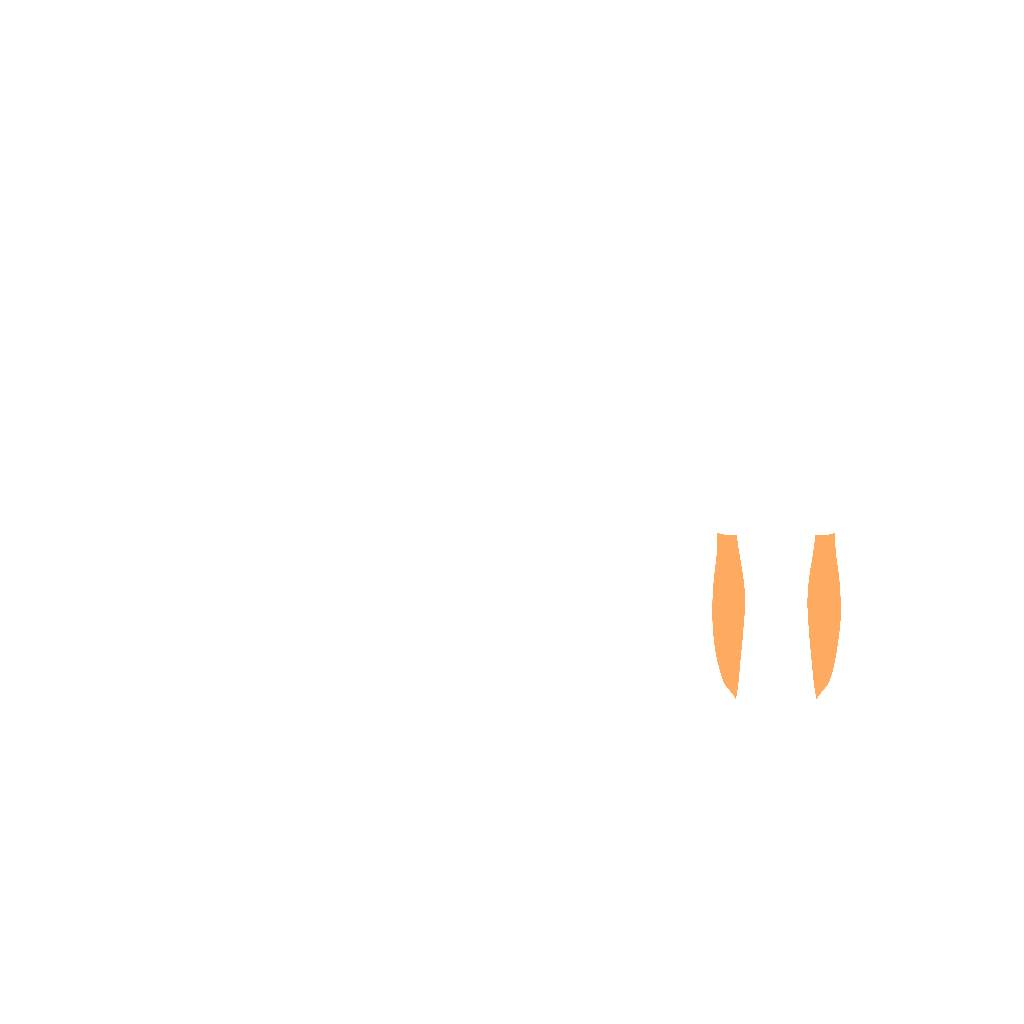
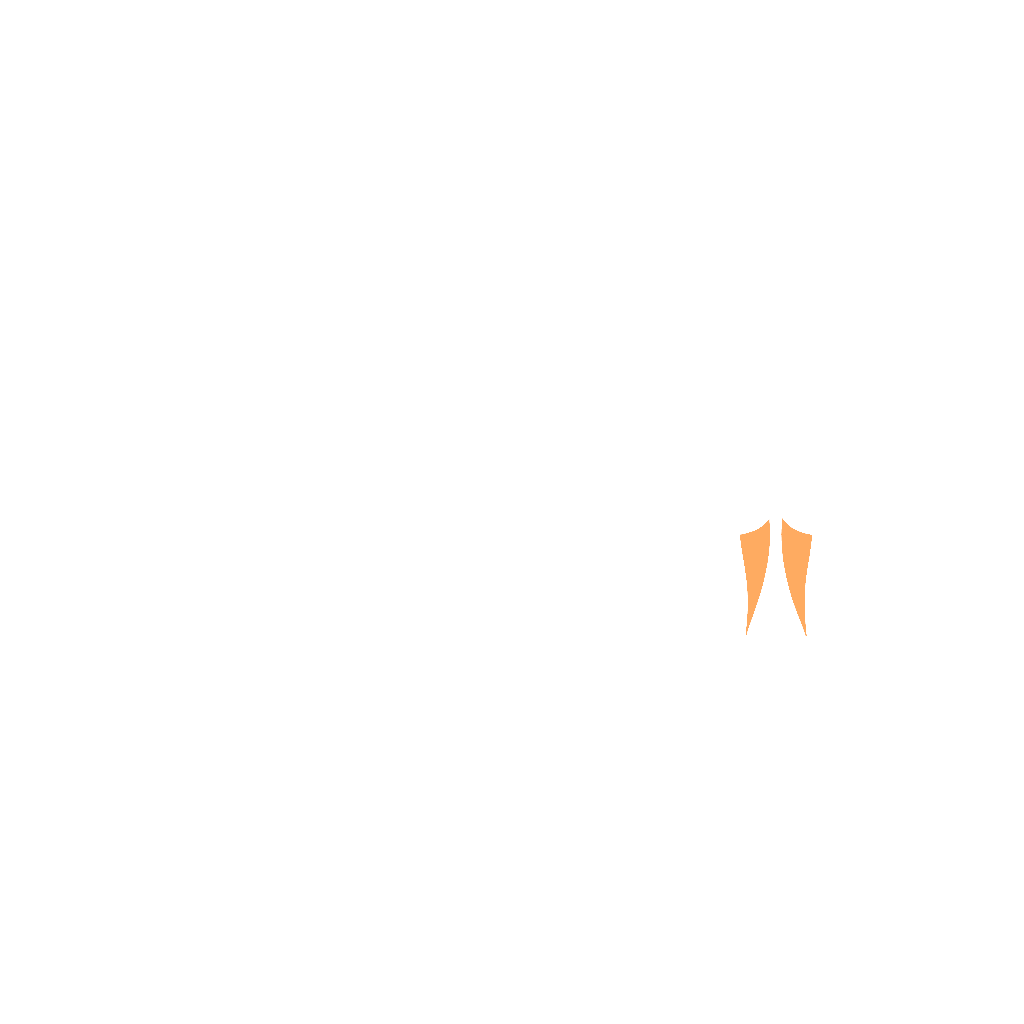
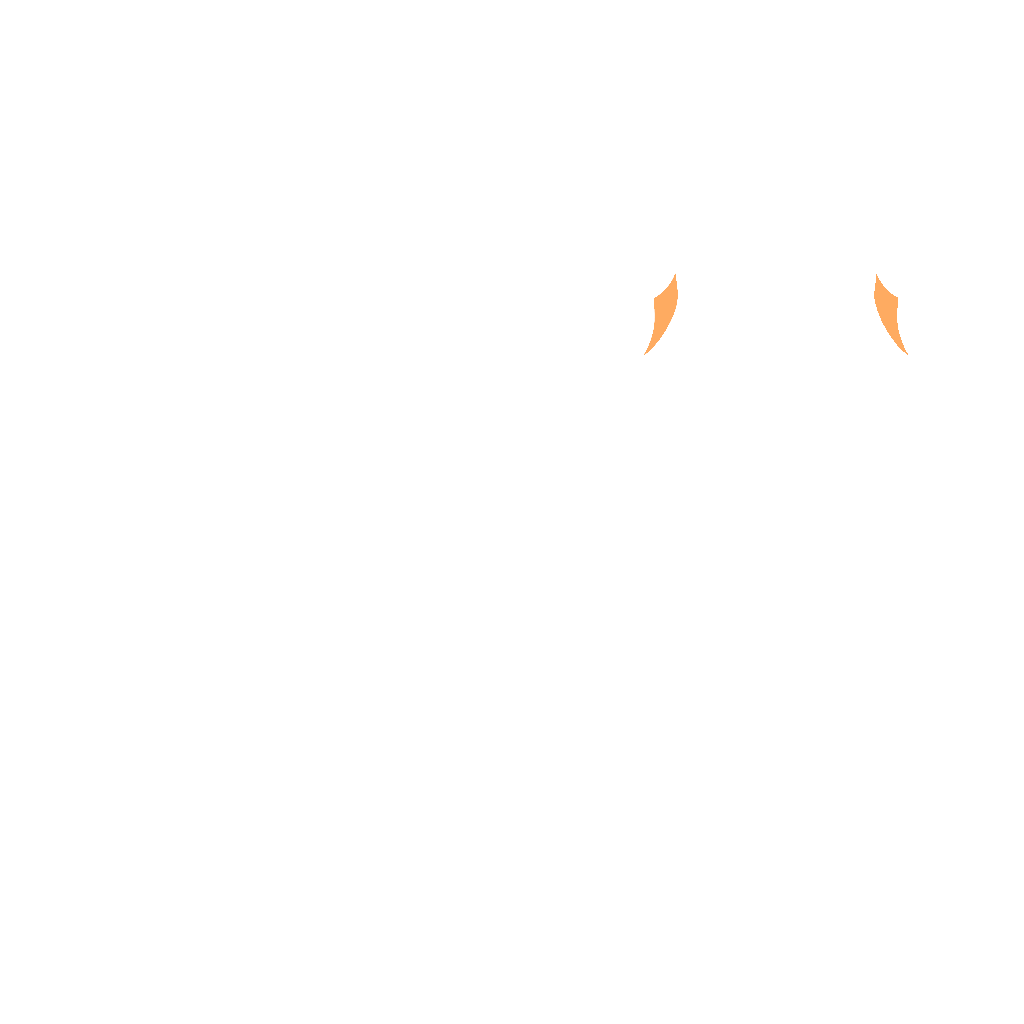

- Target
- Abdominal External Oblique, Deltoid Anterior, Gluteus Maximus
- Secondary
- Biceps Femoris, Semitendinosus, Adductor Magnus, Triceps Brachii Long Head
- Tertiary
- Erector Spinae, Trapezius Upper, Deltoid Middle
How to do it
- 1
Clean and press a kettlebell overhead and turn your feet slightly away from the loaded side.
- 2
Keeping the bell locked out and eyes on it, hinge your hips to the side and reach the free hand toward the floor.
- 3
Descend as far as your mobility allows with a long spine, then reverse to stand tall.
- 4
With the bell back overhead, lower it to the front rack under control.
- 5
Press the bell back to lockout to complete the flow, then begin the next windmill.
- 6
Finish your reps on one side before switching arms.
Tips
- Keep the overhead arm vertical and your gaze on the bell throughout the windmill to stay stable.
- Drive the movement from the hips, pushing the loaded-side glute back rather than bending the spine.
- Start light and shallow; the windmill's range should grow only as your mobility earns it.
Variations
Common mistakes
- The transition from the windmill back to standing rushes before the hips have fully squared up, so the press starts from a torso that is still partly rotated.
- The reaching hand grabs at the ankle or floor for support instead of just brushing toward it, adding a pull that yanks the whole line out of the hinge.
- The rack position gets skipped between the windmill and the press, so the bell goes straight from overhead lockout into a press with no reset in between.
- Switching arms before finishing the full set on one side breaks up the flow and never lets either side build real control over the sequence.
- The knee on the standing leg locks out hard and stays rigid through the hinge, instead of allowing the small bend that keeps the descent smooth.
Frequently asked
- What's a sensible starting dose for the kettlebell windmill-to-press flow, and what should come first?
- Two sets of 3 to 4 full flows per side with a light bell and a shallow hinge makes a sensible starting dose. Before attempting it, you should already own a stable kettlebell windmill and a solid overhead press on their own, since this flow asks for both back to back without a rest between them.
- What can replace the kettlebell windmill-to-press flow without a kettlebell?
- Break it into two separate drills with a dumbbell: an overhead windmill hinge, then a standing overhead press, practiced apart until each feels solid. There is no equipment-free version worth doing, since the flow's value comes from managing a real overhead load through both movements.
- What does the kettlebell windmill-to-press flow train, and when should you avoid it?
- It combines lateral hip mobility and core control with an honest overhead press, rewarding lifters who already move well in both patterns separately. Avoid it if your hips, hamstrings, or shoulders are tight or limited, since forcing range in the windmill under an overhead load is a poor place to chase flexibility.
Related exercises
Other movements among FitRay's 2,000+ exercises that load the same target muscle — same equipment and level first.
- AdvancedKettlebell Armor-Building ComplexKettlebells · Quads · Shoulder
- AdvancedTurkish Get-UpKettlebells · Abs · Shoulder
- AdvancedBottoms-Up Kettlebell PressKettlebells · Shoulder
- AdvancedDouble Kettlebell CleanKettlebells · Glutes · Hamstring
- AdvancedDouble Kettlebell Push PressKettlebells · Shoulder
- AdvancedDouble Kettlebell SnatchKettlebells · Glutes · Shoulder