Reverse-Band Deadlift
Bands anchored overhead lift the bar most at the floor and least at the top, so you can load weight beyond your true max while the bands ease the hardest breaking-the-floor moment. This overloads the lockout and grip and lets your body adapt to standing with more than a full deadlift. Reserve it for advanced lifters with a secure rack setup and dialed-in technique.
- Type
- Strength
- Browse by muscle
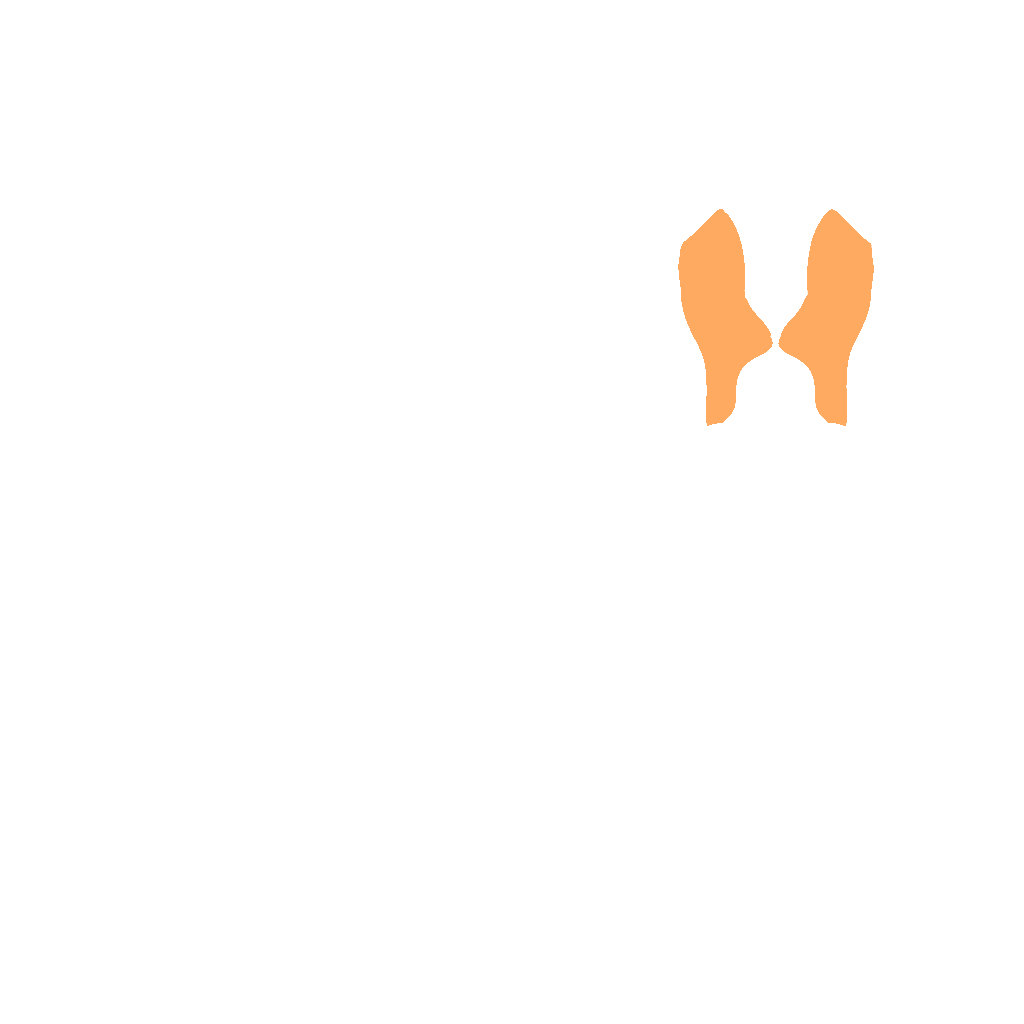
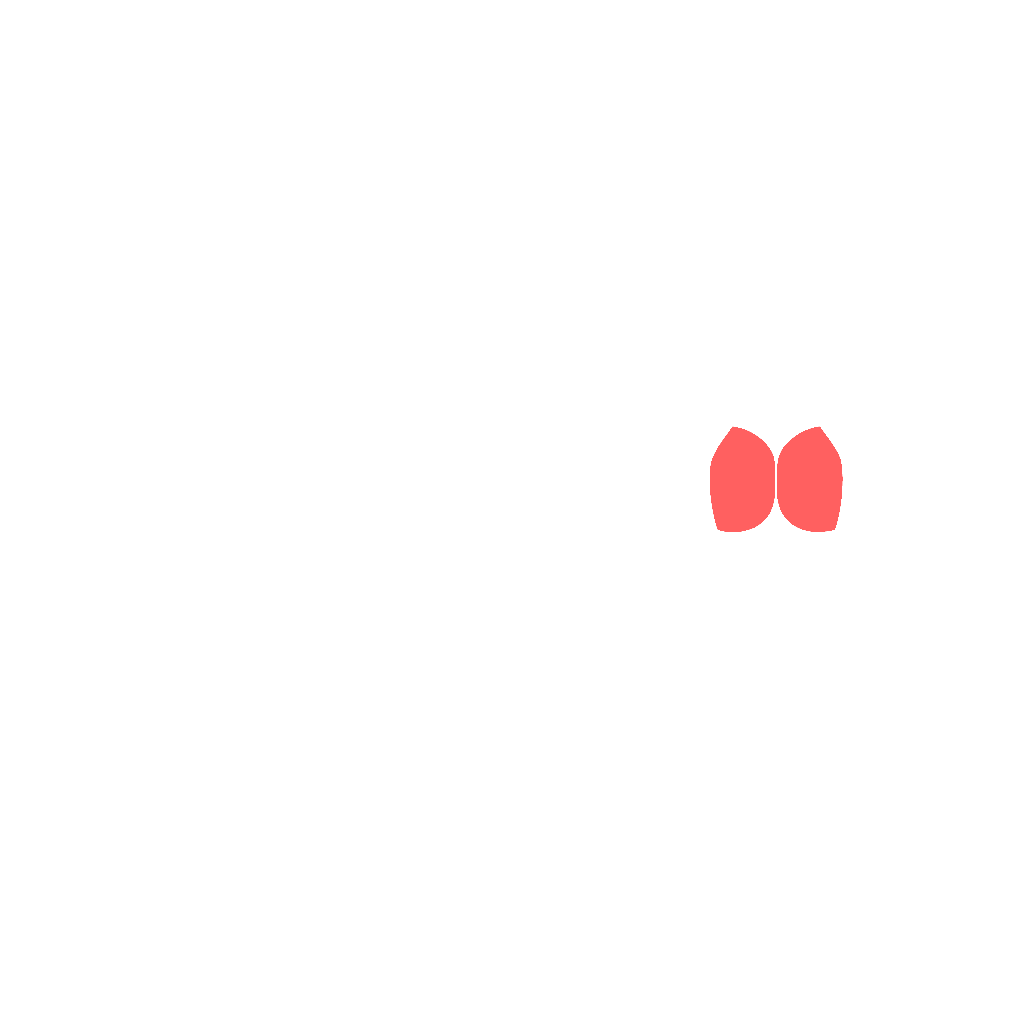
- Gluteus Maximus, Erector Spinae, Biceps Femoris, Semitendinosus
- Browse by movement
- Hinge














- Target
- Gluteus Maximus, Erector Spinae, Biceps Femoris, Semitendinosus
- Secondary
- Vastus Lateralis, Rectus Femoris, Latissimus Dorsi, Trapezius Upper, Trapezius Middle, Adductor Magnus
- Tertiary
- Brachioradialis, Extensors
How to do it
- 1
Anchor stout bands to the top of the rack and loop them evenly over each sleeve.
- 2
Load the bar above your normal top weight, accounting for band help off the floor.
- 3
Set your stance over mid-foot and take out the slack against the band tension.
- 4
Brace hard and break the bar off the floor with band assistance.
- 5
Drive the hips through and lock out where the band help fades and load peaks.
- 6
Lower under control, keeping the bar close, and reset each rep.
Tips
- Set even band tension so the bar does not pull to one side.
- Do not rely on the bands; still pull hard off the floor to build force.
- Grip strength is tested at lockout, so chalk up and consider a strong hook or mixed grip.
Variations
Common mistakes
- The bar gets to float up in the bands before you have set your position, so the pull starts with slack in your body rather than a wedge into the floor.
- Band help at the floor hides a rounded start, because the weight you can break off the ground no longer matches the weight your back is braced for.
- A fast assisted first inch sends the hips up before the shoulders, and the rest becomes a stiff-legged lift at more than your best deadlift.
- The descent gets treated as over once you lock out, but the bands do nothing at the top and the bar comes down as a full supramaximal load.
- Bar height at the start keeps changing because the bands hold it clear of the floor, so the plates never settle and each pull begins from a slightly different place.
Frequently asked
- How many reverse-band deadlift singles should I do, and at what percentage?
- Work in singles: four to six at 100 to 110 percent of your best pull with stout bands, three minutes between reps. You should already pull 90 percent with a consistent back position before loading above your max, and your grip has to be able to hold it at the top. Reducing band tension across a block so the same bar weight gets progressively harder is a cleaner progression than adding plates to an already supramaximal bar.
- How do I overload the deadlift lockout without reverse bands?
- A rack pull or block pull from just below the knee overloads the lockout with no bands at all and is the usual substitute. A trap bar lets you handle more weight in a friendlier position if heavy practice is what you want. Straps will hold an overloaded bar if grip is your limit, though they also remove the grip training this version gives you. There is no good home version of this one.
- What is the reverse-band deadlift for, and when should I leave it alone?
- It lets you stand up with more than a full deadlift while the bands ease the break from the floor, building lockout strength, grip, and confidence under a heavy bar. It suits advanced lifters with a secure rack and a grooved pull. It is the wrong tool if you miss at the floor, since that is exactly where the help is, and the wrong tool while your technique still varies from rep to rep. Pulls above your max load the spine heavily even with bands, so use them in short blocks rather than every week.
Related exercises
Other movements among FitRay's 2,000+ exercises that load the same target muscle — same equipment and level first.